JFE Mechanical regularly holds review meetings where results of projects are reported to the top management for evaluation. At these meetings, actual examples are shared in order to ensure customers receive the best support, and are given access to the most advanced technology available. The team at JFE Mechanical is conscious about differentiating its measurement services by providing value-added benefits (e.g. videos) using all the resources they have access to.
The company strives to “contribute to the society with the world’s best technology at all times”. In line with that corporate mission, JFE Mechanical owns several sets of FARO Laser Tracker Vantage and FARO Laser Scanner Focus3D. It is certain that the company will continue to provide high-quality measurement services to various industries with its gamut of high-tech equipment.
Introduction
In order for a manufacturer to ensure precision in manufacturing its products, the machines used within the production facility must be properly maintained. Inspection and alignment are common techniques used to address manufacturers’ quality needs. As
an example, rollers that are used to transport steel plates must be positioned accurately for the job to be completed smoothly. In the same way, facilities need to be inspected and maintained accordingly, especially if the equipment has aged or if layout has changed.
For JFE Mechanical Co., Ltd. (JFE Mechanical), helping companies to evaluate their facilities and rectifying issues is one of its core areas of business. Based in Kuramae, Taito-ku, Tokyo, the integrated engineering firm provides a comprehensive set of facility-related services across Japan. Its diverse portfolio of services include design and development of facilities; design, fabrication, and installation of complex structures (machinery, electrical, steel); as well as maintenance of plant construction equipment.
Increased Measurement Needs
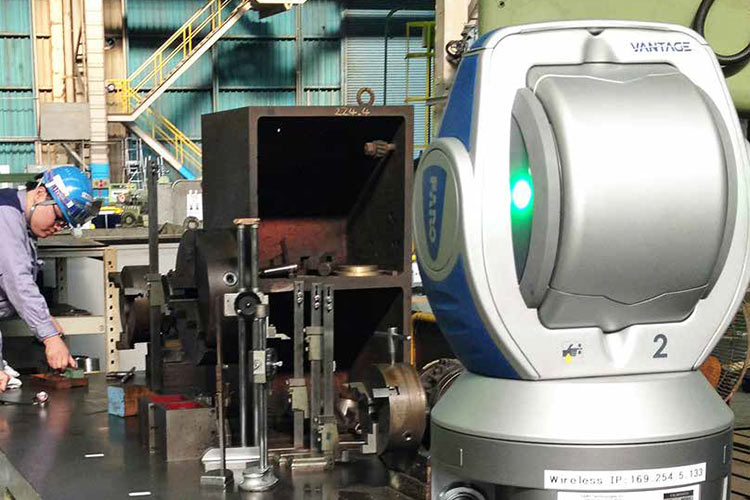
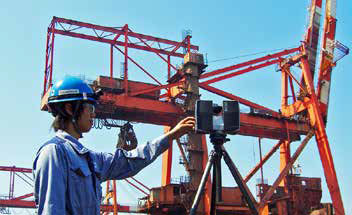
As part of its facility development and maintenance service, JFE Mechanical identified “measurement” as a service area to focus on. In 2008, the company purchased a FARO Laser Tracker to enhance its levels of accuracy for equipment alignment within its own premises. Later, JFE Mechanical also invested in a FARO Laser Scanner to safely acquire measurements of complex, large pieces of equipment using non-contact methods. When word got out that JFE Mechanical had expanded its in-house capabilities with these new devices, the company began to receive an influx of measurement requests, both internally and externally.
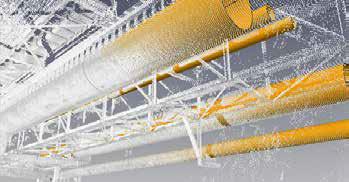
For instance, JFE Mechanical’s construction department asked for a documentation of the changes made to its factory during renovation. Mr. Michihiro Maki, Section Chief of Keihin Equipment Diagnosis Section, Plant Engineering Division, JFE Mechanical, said, “We first embarked on providing full-scale ‘measurement services’, so as to tap on our collective capabilities to expand the business. Now, we find ourselves providing the service to JFE Steel, our internal construction department, as well as other customers. Apart from providing 3D measurements, we also offer a total solutions package that includes vibration and stress diagnosis, as well as new and relocation construction works.”
Benefits Of Using Laser Measurement Devices
Based on JFE Mechanical’s usage of FARO’s devices, here are some benefits the company has enjoyed.
- Perform non-contact scanning from a safe location.
- Complete measurements with less number of people and in a shorter time.
- Acquire dimensions for objects that are challenging to measure using manual methods.
- Increase its capabilities beyond simple measurements of distance and angles – including applications such as interference check, corrugated surface analysis, and CAD drawings.
In the past, JFE Mechanical would perform measurements manually, using tools such as transits, levelers, and micrometers. However, because JFE Mechanical advocates safety as a top priority, it was important to reduce risks by replacing old measuring methods with new equipment. At the same time, the move to swap out manual measurement also enabled higher levels of accuracy. Both of FARO’s devices helped JFE Mechanical achieve a safer environment for its employees. The FARO Laser Scanner’s non-contact scanning capabilities meant that objects at inaccessible locations (e.g. height) could still be measured from a safe, distant site. On the other hand, the FARO Laser Tracker’s portability contributed to the reduction of risks in the movement of large objects, because the measuring device can be deployed right where the part is instead.
Performance History of the Laser Measurement Devices
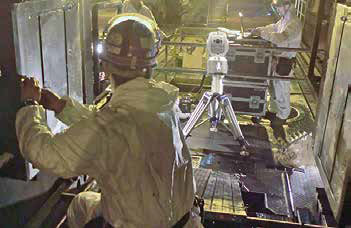
Using the FARO devices, JFE Mechanical has completed a variety of scan and measurement projects.
Projects involving the Laser Tracker:
- Geometry measurement of shearing knife holders.
- Installation positioning of parts when fabricating equipment.
- Geometry measurement of processed surfaces.
- Measurement of tilt in rollers to ensure parallel alignment.
- Geometry measurement of spindles – to inspect overall curvature and flexural deformation of existing spindles, and to measure the roundness of each roll.
Projects involving the Laser Scanner:
- Measurement of tilt in buildings After the Great East Japan Earthquake on 11 March 2011, there have been more requests to measure the tilt of buildings. By importing point cloud data obtained with the scanner into the software, analysis of surface roughness and tilt can be done.
- Dimensional measurement, despite obstacles In the case of plumbing renovation, users can check the position of plumbing and other objects with the software, examining the scan data of the interior and exterior of building walls.
- Measurement of tilt in furnace wall The amount of tilt is measured periodically to assess the amount of wear-and-tear to the furnace.
- Rail measurement of ceiling crane The Laser Scanner obtained detailed measurements of the rail quickly and safely, avoiding the risks of working at height.
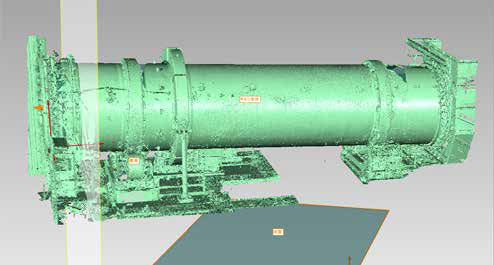
- 3D documentation The team was able to visualize data comparison results before and after a construction project took place.
Conclusion
JFE Mechanical regularly holds review meetings where results of projects are reported to the top management for evaluation. At these meetings, actual examples are shared in order to ensure customers receive the best support, and are given access to the most advanced technology available. The team at JFE Mechanical is conscious about differentiating its measurement services by providing value-added benefits (e.g. videos) using all the resources they have access to.
The company strives to “contribute to the society with the world’s best technology at all times”. In line with that corporate mission, JFE Mechanical owns several sets of FARO Laser Tracker Vantage and FARO Laser Scanner Focus3D. It is certain that the company will continue to provide high-quality measurement services to various industries with its gamut of high-tech equipment.

