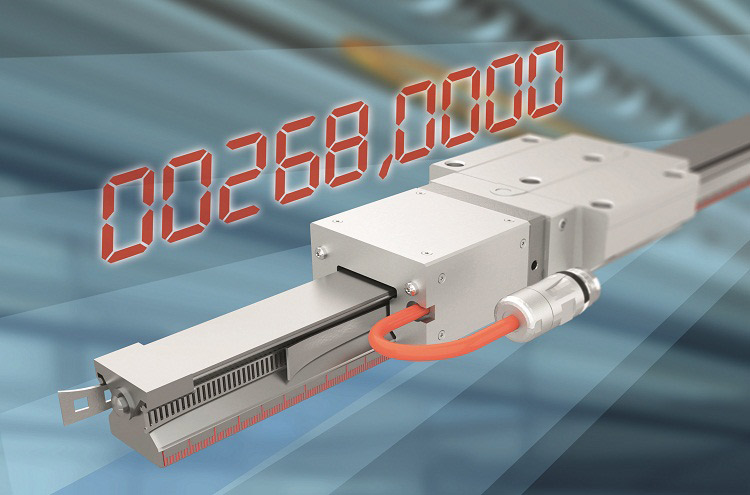
Guide and measuring device in one: The IMS-A integrated measuring system captures the absolute position inductively with a high degree of precision, even under mechanical loads and in polluted environ
Linear guides with absolute value recording as accurate as glass scales, but more robust
Whether in machining operations, 3D printing or electronic handling – ever greater accuracy and availability are essential. The new Rexroth IMS-A measuring system, which is integrated in linear guides, is helping to achieve just that. It detects the absolute position of the axis to +/- 4 micrometers. What’s more, the measuring system is immune to contamination, vibrations, shocks and magnetic interference and needs no buffer batteries in the event of a power failure. Thanks to the complete integration of the sensor and evaluation electronics in the ball and roller runner blocks, design engineers can avoid external measurement systems and air purge systems.
Turning machines back on again following a power failure can result in a critical situation. The controller in many applications needs to know the position of each axis immediately. Purely incremental measuring systems need to first complete a reference run for this. This extends the ramp-up time and, in a loaded state, can result in damage to the workpieces and tools. The new integrated IMS-A measuring system from Rexroth immediately recognizes the absolute position of the axis with a high degree of precision when the machine is switched on and reports them to the controller without carrying out a reference
run. For this, the system does not require buffer batteries that need to be replaced regularly.
Inductive and wear free
Thanks to the inductive measuring principle, the IMS-A operates without physical contact and is therefore a wear-free assembly. The measuring scale cannot be interfered with or destroyed by external magnetic fields. The IMS-A is not sensitive to vibrations up to 10 G and shocks up to 50 G. The sensors and evaluation electronics are located in protective housing on the end face of the runner block. Even in working spaces with coolants, dust, shavings and other contaminants, the IMS-A does not require elaborate energy-eating, high-maintenance air purge systems. Even electrical and magnetic interference fields do not affect the measurement results. This ability makes the IMS-A destined to also be combined with linear motors, for example. Here it combines precision with high dynamic performance requirements and gains the full dynamics of ball and roller rail systems from Rexroth. The permissible acceleration is up to 500 m/s² and the maximum speed is 5 m/s, or even up to 10 m/s upon request.
Precision machining
With the IMS-A, position detection takes place very close to the tool center point, an important prerequisite for high precision, and thus surface quality in machining. The position resolution of the IMS-A is up to 0.025 µm. This extremely low value creates the conditions for excellent control loop dynamics and thus short cycle times. The system accuracy of +/- 4 µm/m lies within that of glass scales. This means that repeatability of +/- 0.25 µm is possible.
Integrated functions
The functional integration of guiding and measuring in an assembly minimizes installation times. No adjustment of the measuring system is necessary. With the IMS-A, engineers can use several runner blocks on an up to 4,500 mm long profile rail independently and without any accuracy limitations. All components, i.e. rail, runner block with adapter plate and scanner, are individually replaceable in the event of servicing. This reduces servicing costs. The interchangeable construction offered by Rexroth ensures even less effort. All runner blocks of the same size fit onto the profile rails of the respective size without any restrictions. The measuring system transmits the data via HIPERFACE© (*) interfaces, as well as via SSI/1Vp-p to the intelligent drives or controller. DRIVE-CLiQ (**) and FANUC interfaces are to follow.
Prepared for Industry 4.0
The integration of additional temperature and motion sensors makes this measuring system prepared for the future requirements of Industry 4.0. The additional sensors allow machine designers, for example, to read out the temperature and the actual dynamics. The sensor data also forms the basis for future approaches to predictive maintenance. The user can record and evaluate operating states online. If the accelerometers detect changes, such as increasing vibrations, then this is an indication of wear or other problems. Scheduled maintenance can then intervene before the machine needs to be shut down.


