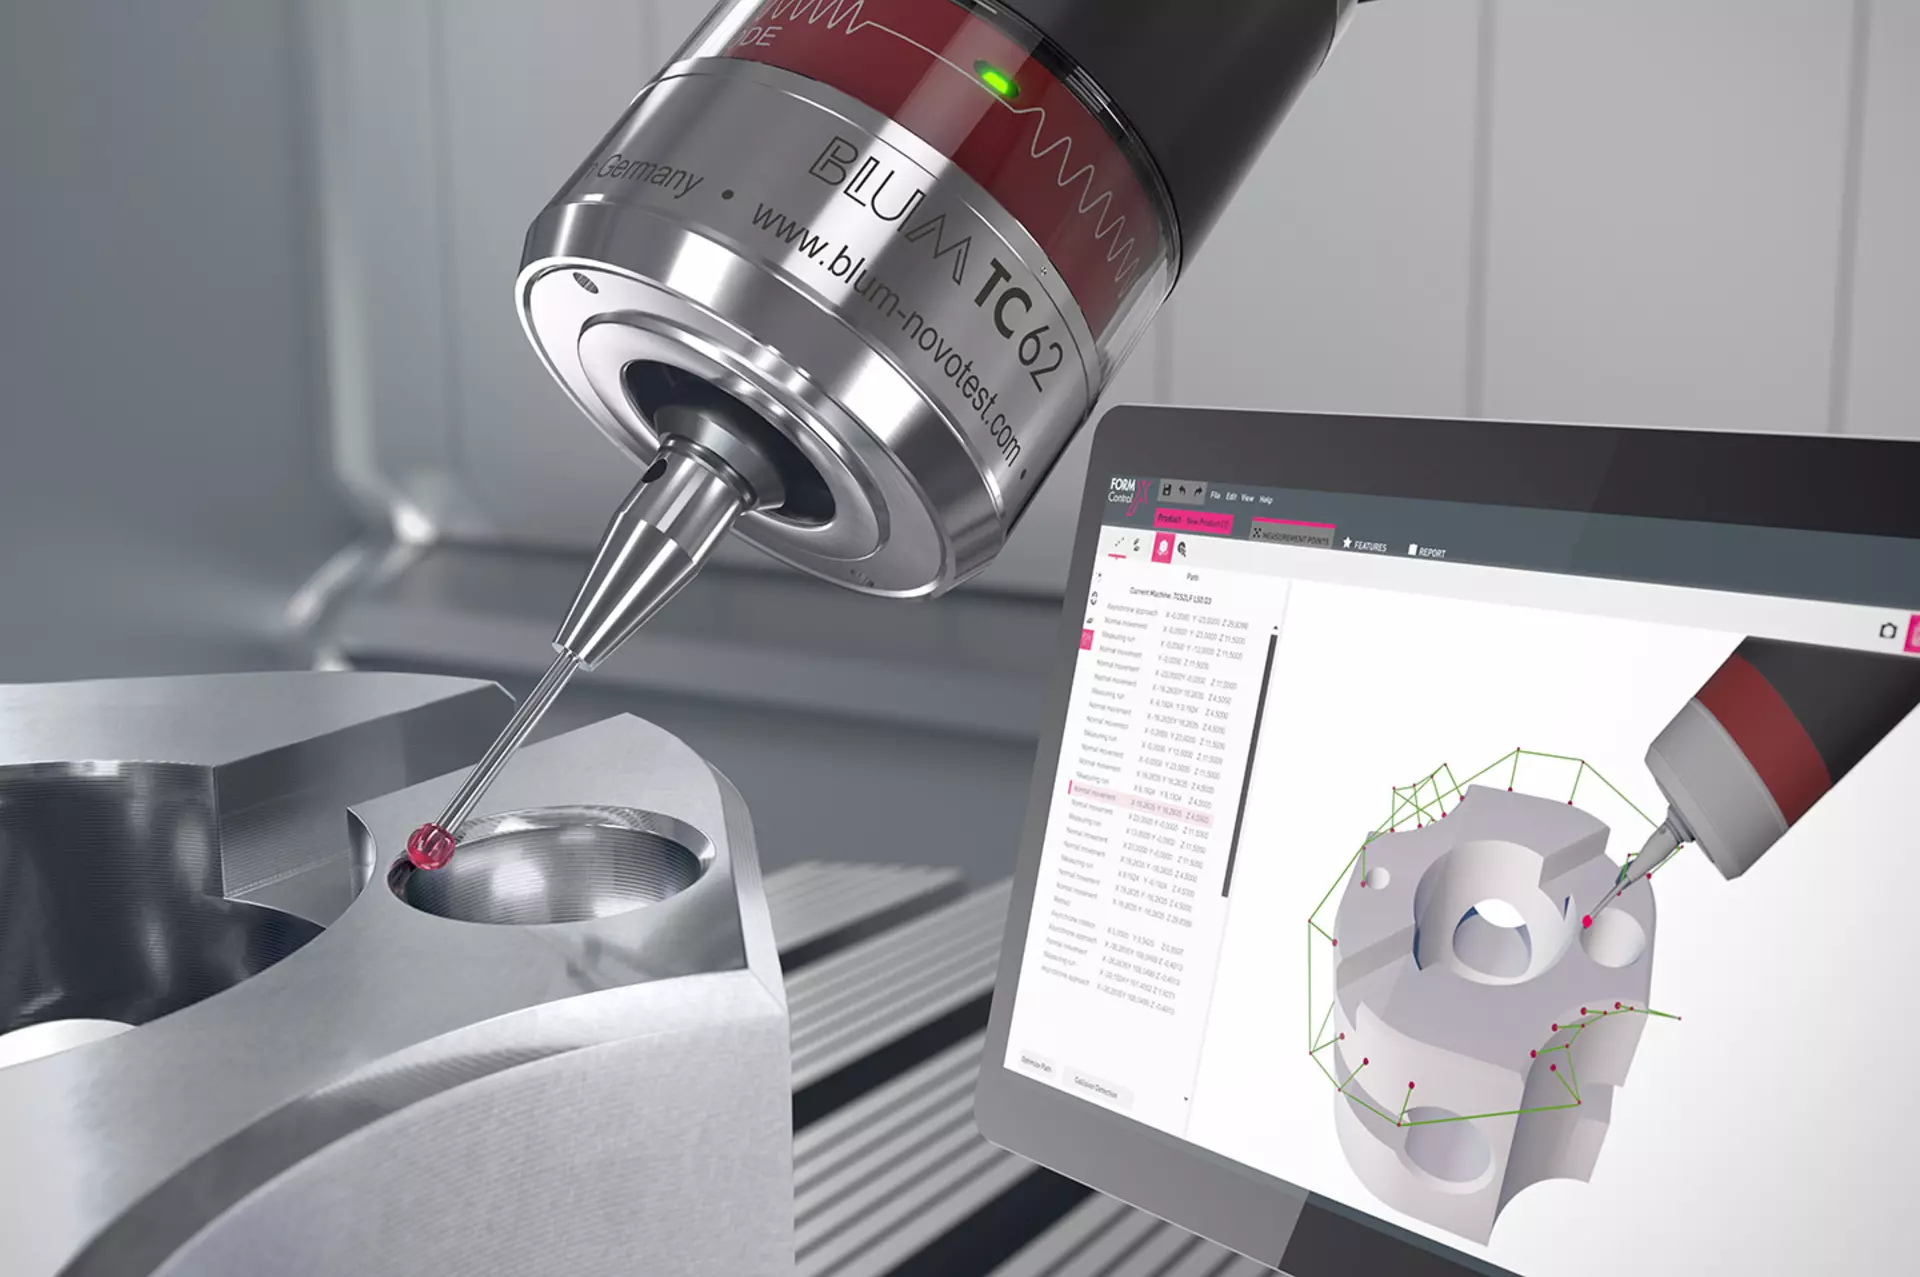
Blum-Novotest, a leading provider of innovative and high-quality measuring and testing technology, is presenting FormControl X for process-reliable automation. “The basis of intelligent automation solutions is process data, which is evaluated live or very quickly and serves as a control variable for optimising the process. The automation reacts to the measurement result and readjusts it so that the process always stays within the predefined limits,” explains Wolfgang Reiser, Head of Technology at Blum-Novotest. “With the new FormControl X software, Blum-Novotest presents such a solution for machining centres, with which even more knowledge can be gained through continuous measurement of workpieces in the machining process.”
While the previous FormControl version (without ‘X’) is based on a scenario in which a machine operator works on a machine with a laptop and processes the measurements at the same time, the trend today is towards the automation of such processes, so that this 1:1 relationship is increasingly rare. In addition, completely new areas of application open up with genuine automation of workpiece measurement. The goal with FormControl X was to enable real measurement automation on the basis of a modern client-server architecture – away from pure logging and towards process integration and automation with the help of the measurement data collected by the software.
In this way, workpieces can be measured directly after each processing, whereby the results already serve as a correction value and basis for optimisation for the next component. For this purpose, the user defines intervention limits when creating the project, according to which the software carries out a corresponding correction. Among other things, this allows tool wear to be compensated; FormControl X recognises the trend that, for example, bores become smaller over time when the tool in question wears out, and can take countermeasures accordingly. This expands the focus of the software: while FormControl focused on higher-priced parts in single-item production, FormControl X also aims at small, medium, and large series production.
Evaluated data and results can be accessed through a web interface via various end devices. The server communicates with the machines on which measurements are taken – this allows an operator to carry out measurement projects on many different machines and have them automatically evaluated. Complex measurement routines, such as the alignment function, can be used to adapt the reference points of the machining programme to the position and shape of the workpiece so that machining can run optimally. Another innovation in FormControl X is the management of measuring equipment and machines. Since this is now located centrally on the server, the data is available across all machines. The definition of the measurement is also very easy and intuitive thanks to a context assistant.
In addition, FormControl X now opens up the possibility of creating and evaluating data series over time. What ended up being a log of a single processing in FormControl can now be used to evaluate an entire processing series. This offers the operator completely new insights. In addition, the protocols resulting from the measurements can be extensively and very easily adapted, tolerance limits can be displayed as a number or image; red/green colouring can be defined; and much more.
FormControl X is a further step on the way to integrating measurement results from machine tools into company processes and making them usable in terms of Industry 4.0. “With a networked client-server architecture, the reusability of measurements and interaction with the machine, the new version of the software solution offers many new options for keeping processes transparent and continuously optimising them,” summarises Wolfgang Reiser. “Perhaps the most important aspect for many users, however, is that the machining process can be automated quickly and reliably with FormControl X, which is reflected 1:1 in productivity and in the quality of the finished workpiece.”


